Total Pageviews

Austin 101 Parts list & JB Workshop Manual

Dec 2015

Recently managed to buy both an Austin 101 parts list and a Morris JB/101 workshop manual from our old friend Mr E.Bay. Both are in pretty good condition considering they are closing in on 60 years old.

Click on the links below to see full content :

Austin 101 parts list in two parts 


AUSTIN 101 Parts List -Part 1

AUSTIN 101 Parts List -Part 2


Morris JB/101 Workshop Manual 

Workshop Manual- Part 1-Introduction-Engine-Ignition-Cooling-Fuel System-Clutch
Workshop Manual Part 1

Workshop Manual- Part 2-Gearbox-Prop Shaft-Steering-Rear axle-Steering-Front axle
                              - Road springs & dampers.
Workshop Manual Part 2  

Workshop Manual- Part 3-Brakes-Electrics-Wheels & tyres-Lubrication-Chassis-Body-
                              - Specialized equipment-Lubrication chart.
Workshop Manual Part 3


                 Photos only


More bits and pieces!!

Nov 2015

Grill fastener

Have been searching for a missing grill fastener every since I took ownership of my van.
At last I have found a source for the Dzus fastener, AJ6-1/2-60, that holds the grill in place. 
These are to be found at www.lasaero.com . There is a small minimum order charge and postage...but for around £10 I bought a quantity of seven.


Screw Jack

Decided to identify and try and get a suitable period car jack for the van. Service parts list identified the Jack as '97H751'. This is the same part called out for the Morris Minor van. 

www.mgaroadster.co.uk site identifies Shelley jack LJ31 as used on the Morris Minor 1/4 ton van. :www.mgaroadster.co.uk/shelley_jacks_2.htm.

This triple screw jack has a closed height of just over 5 inches (125mm)  and a fully extended height of 13.75 inches (349mm).

Managed to get one, including handle, off Ebay. After a couple of hours of cleaning and repainting it now looks like this:-


When in use at the rear axle it does lift sufficiently for the tyre to clear the ground...but only by a couple of inches. At the front it is small enough to fit under the axle beam quite easily.
Will probably use a wooden spread board, say 13mm (1/2 inch) for use on soft ground and to give a bit more lift at the rear.
For reference Shelley jack LJ32 is very similar but will give a few more inches lift.
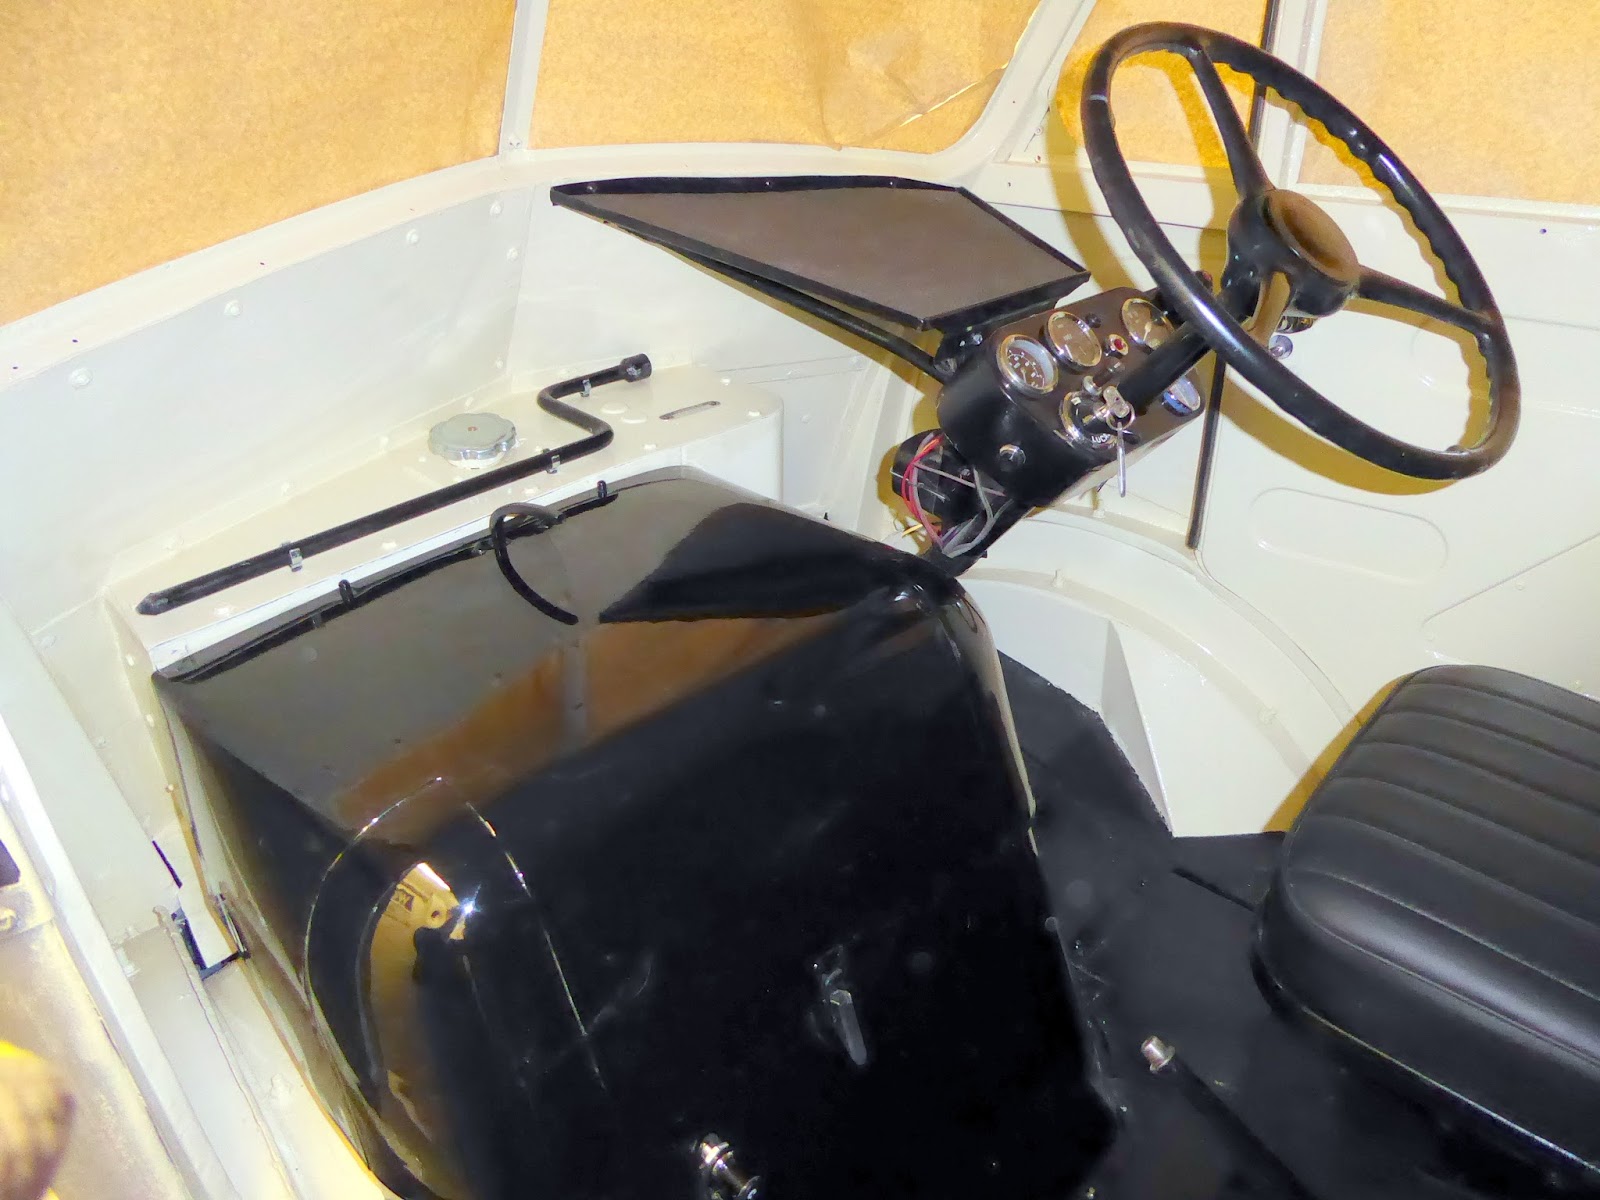
More body work!

Going through a period of learning how best to get the exterior body work straight and smooth. Currently taking several attempts on each section to get close!
Here are my efforts to date on the front cab. Just got the two lower rear side panels to go.


Tyres and other things.......

Sept 2015

Blogger Tech note: Blogger does not work well with Windows Edge browser in Windows 10. Photos cause a freeze when adding from select page... after a few hours of frustration my cure was to install Google Chrome as the default browser...all works fine...at the moment.

Tyres Firstly a tale about tyres.....ordered a set of 5 tyres plus tubes, rims a bit pitted, over the net from a well know vintage tyre supplier...order acknowledged and invoice received...waited a few days but no tyres...phoned supplier only to be told they were out of stock and not expecting supplies until 2016!   So much for believing what you read on the net!
Next a  phone call to a different supplier to be told the same story that the tyres I wanted where not available for several weeks....so I went for a more expensive set of Excelsior 6.70 x15. These arrived within 24 hours and I duly took the tyres, tubes and wheels to a local garage to have them fitted.  However they had never fitted tubes to tyres and didn't know how to! Luckily they knew who did and I popped across the road to ATS. They had an 'agricultural man' who was skilled in fitting tubes, so I left the tyres with them. However a few hours later I had a call to say there was a problem.....I needed some 'grommets' to take up the gap between the wheel rim hole and the much smaller tube valve! Luckily when I got back in touch with the tyre supplier, North Hants Tyre, they had 'grommets' and posted a set to me FOC.
Back to ATS with the grommets and all is now done.
So when ordering tyres...check first with the supplier, If you need tubes fitted find an 'agricultural' tyre fitter and don't forget the 'grommets'!


Rubber Flooring
Took the plunge and sent for some 6 mm ribbed rubber matting...made a paper template of whole floor and managed to cut it out into just three pieces to fit the lot.
Sprayed over edge of template, on reverse with can of paint, to get a clear cutting edge...fitted aluminium edging to make tidy the edges.


paper template on reverse of rubber matting


Internal Rails (Raves as Harvey P calls them)
At last managed to get a full set from 'J' owner Bill in Swindon. Thanks Bill.
 After removing a few layers of old paint and then adding a few more of new have fitted them and the internal panels finally in place.


Finally the lights.
Temporarily ran all the wiring to the front and rear lights and flashing indicators. All seemed fine except the indicators. While they flashed at the right time I couldn't stop the indicator light on the switch from flashing, even in the central off position! After trying all the wiring combinations nothing solved this problem. After discussing the issue with Alan from Reddiparts, Redditch he suggested and lent me a 4 pin flasher unit to try, suitable for hooking up a trailer, in place of the 3 pin one I was using. After a few wiring combinations I hit on the one that worked! Thank you Alan.
Indicator 'block' bolted to instrument housing


4 pin trailer flasher mounted under drivers tray.


One small step for man.......

July 2015
Am moving on to the exterior body work and have completed the straightening, filling, sanding and priming stage of all of the removable parts...roof, front doors, rear doors, grill and front wings.
Rear wings have been welded on at some time in the past...I am going to leave them alone for now and see how they look after I have tidied up the side panels.
Here are a few photos of progress to date.....need to get some tyres on the wheels next before I can move the van out of the garage to do the rest of the body.


More Interior work...

June 2015
Here are some photos of the latest 'state of play' regarding the interior of my van.

Advances from my last posting including finishing painting the cab area, fitting the driver and passenger seat and adding various miscellaneous bits..... have also fitted the rear doors so they fit correctly after a fair amount of reshaping and shimming!

As you can see I still don't have any metal rails that run along each side of the van...so I have fitted wooden ones for now. For the eagle eyed amongst you I haven't fitted the inner door panels correctly as yet...I still need to remove them when I start on the external body panels so they are a temporary fix for now.

As far as the outside goes I have prepared all four doors, the roof and the front grill...still a fair amount to do before a final British Railways colour scheme can be added.

Which reminds me....does anyone know how I can contact the owner of the Morris Minor van done in the same British Railways livery? I have seen a few photos of NDF 815F..it looks great... and would like to make contact to discuss paint specs etc.


Interior Paint

March 2015
Just an update to record what has been going on in the past few months....have been concentrating on getting the interior back into shape and painted. Have had the roof off, scraped all the old paint off, sanded down, hammered, filed, filled and applied 4 coats of 'Classic cream' gloss to the inside and 3 coats of primer to the outside . Also fitted a new rubber seal and bolted the whole thing back in place.
Have completed a lot of the inside painting but still have all four doors and the lower front cab area to complete. While preparing the doors for inside paint I am also repairing, preparing and priming the outside of the doors .
Went and had the old tyres taken of the steel rims and the rims powder coated black...now all I need is a new set of tyres!

Still can't yet find any metal horizontal lathes, rails, raves  to protect the side panels on the inside. May have to fit wooden ones until I can find the proper ones. Unless someone has a set they can offer me?

Here are a few pics of work done in the winter.


Roof as removed

All paint removed plus one coat of primer. (brown bits are loose leaves!)

Four coats of classic cream paint applied by brush and roller plus new rubber seal.
Outside of roof as removed. Needs repairs to dents and rough patches. Plus filling and sanding.


Roof repaired and levelled - after a lot of hours of work...spray finished with primer.


Roof re-attached , side panels and inner door panels painted. Floor and engine cover painted black.

Other side. (Inner door panels not bolted in place as yet.)


Powder coated wheel. This is the spare which still shows some evidence of underlying pitting despite being sanded down between coats.
Passenger and drivers doors finished ready for painting.
'Plastic' wheels for front doors. Marine fittings.