22 Sept 2014
Have now cleaned up the rusty inner door panels and got them to fit in place. So far have sanded/treated and coated inside of panels with grey stone-chip paint and a couple of coats of grey primer to the side that will show.
See photos below.
Total Pageviews
Floor
8 Sept 2014 & 13 Sept
Have managed to do the first fit of the plywood floor. Used 12mm external plywood which I intend to paint, both sides, once I am happy with the detailed fit of all the pieces.
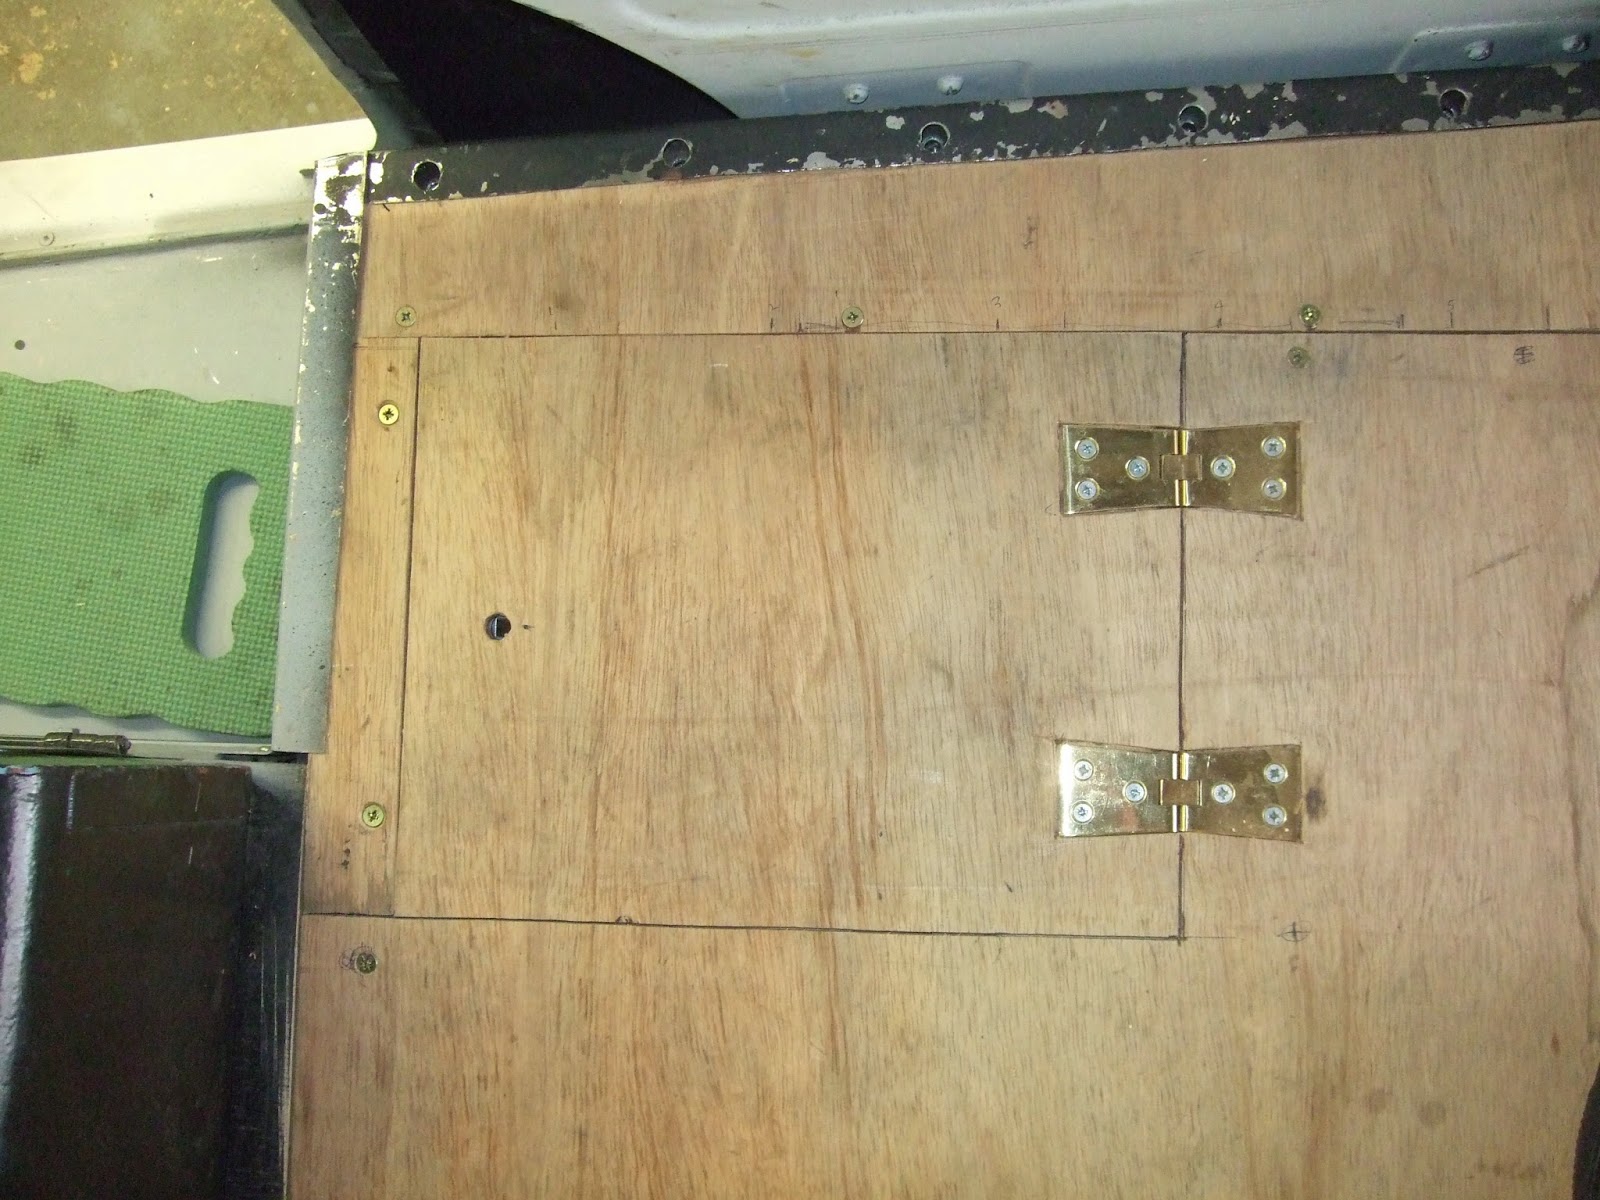
Made the floor in sections, screwed to the frame, so most are easily removable should I need access to the mechanics below. Have included a hinged battery box trap door and made a metal plate to cover an access hole for the fuel gauge sender unit.
As the rear internal mud wings needed extension plates to reach the frame and are not a pretty site have decided to hide them with a plywood cover that also incorporates a storage compartment. Will do this both sides.
Here are some pics to show progress to date.
Completed the nearside cover come storage box for the mud wing. Have now included locks to the storage lids and made sure they both are strong enough to sit on.
See photos at the end.
Have managed to do the first fit of the plywood floor. Used 12mm external plywood which I intend to paint, both sides, once I am happy with the detailed fit of all the pieces.
Made the floor in sections, screwed to the frame, so most are easily removable should I need access to the mechanics below. Have included a hinged battery box trap door and made a metal plate to cover an access hole for the fuel gauge sender unit.
As the rear internal mud wings needed extension plates to reach the frame and are not a pretty site have decided to hide them with a plywood cover that also incorporates a storage compartment. Will do this both sides.
Here are some pics to show progress to date.
Completed the nearside cover come storage box for the mud wing. Have now included locks to the storage lids and made sure they both are strong enough to sit on.
See photos at the end.
June 2014- Floor Frame
Just had a go at making a floor frame!.I say 'just' but it has taken me several hours!
Used planed softwood in sizes 44 x 69 and 44 x 44 mm. Have managed to make the frame so it can be removed in one piece. Fortunately due to previous work to get the body raised to its correct position the flanges, on the rear mud guards, that normally sit on top of the frame have been removed. This allows the frame to be easily removed. I intend to fit new flanges once the frame goes in permanently.
Probably put in more runners and cross spars than would have been fitted originally but all seems to fitting at the moment.
For the main frame I used half lap joints, glued and screwed plus cross spars secured by brackets and screws plus glue. Finished the whole frame with a couple of coats of exterior satin varnish.
The intention is to fit a plywood floor, in sections held with screws for easy removal.
Here are some photos of my woodworking efforts to date!
Above- main frame..half lap joints all places.
Above- Blocks fitted to ends of each main runner to support inside rear cross beam on van. ( frame upside down in photo)
Above- First fit to van. Frame needed tipping at about 45 degrees to go through rear door opening.
Above- Second fit with additional cross spars fitted.
Above- Looking to add some additional support across petrol tank using a 20mm square tube as there is not enough height for a strong wooden support. ( bracket at an angle has not been fixed yet)
Used planed softwood in sizes 44 x 69 and 44 x 44 mm. Have managed to make the frame so it can be removed in one piece. Fortunately due to previous work to get the body raised to its correct position the flanges, on the rear mud guards, that normally sit on top of the frame have been removed. This allows the frame to be easily removed. I intend to fit new flanges once the frame goes in permanently.
Probably put in more runners and cross spars than would have been fitted originally but all seems to fitting at the moment.
For the main frame I used half lap joints, glued and screwed plus cross spars secured by brackets and screws plus glue. Finished the whole frame with a couple of coats of exterior satin varnish.
The intention is to fit a plywood floor, in sections held with screws for easy removal.
Here are some photos of my woodworking efforts to date!
Above- main frame..half lap joints all places.
Above- Blocks fitted to ends of each main runner to support inside rear cross beam on van. ( frame upside down in photo)
Above- First fit to van. Frame needed tipping at about 45 degrees to go through rear door opening.
Above- Second fit with additional cross spars fitted.
Above- Looking to add some additional support across petrol tank using a 20mm square tube as there is not enough height for a strong wooden support. ( bracket at an angle has not been fixed yet)
and finally...
22 May 2014
More photos of body work repairs to the back end of the van...Maurice has done all repairs and I will collect early June.
Front panel & roof repairs
March 2014
The last two months have seen more progress on the body work, by Maurice (MTR).
The lower front panel has been removed and replaced. It had some severe distortion to the nearside half...probably not helped by the bumper being fastened directly to the panel!
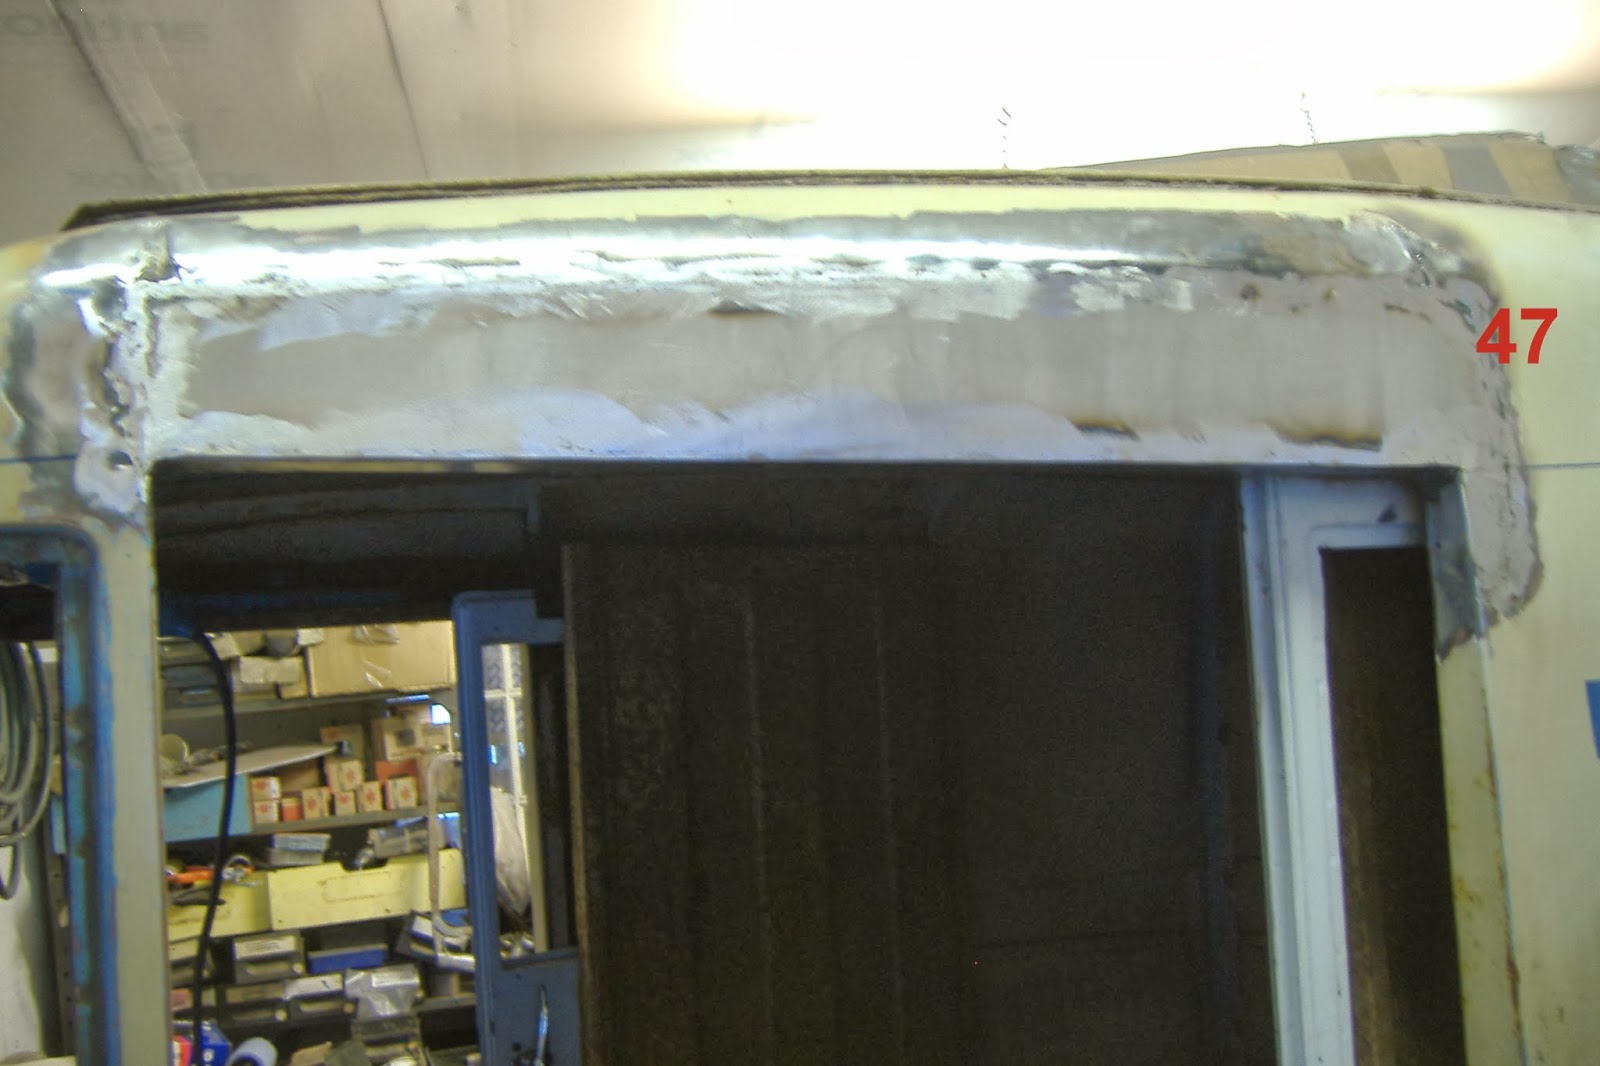
Also both nearside and offside panels, above the front door openings, have had any rot cut out and repaired.
Cut-out holes have been mended in the roof at the front....can't begin to think why they were there to begin with....perhaps a periscope was fitted?
Maurice has also separated the roof panel to begin repairs to the roof.
See photos numbered 39 to 54 below.
The last two months have seen more progress on the body work, by Maurice (MTR).
The lower front panel has been removed and replaced. It had some severe distortion to the nearside half...probably not helped by the bumper being fastened directly to the panel!
Also both nearside and offside panels, above the front door openings, have had any rot cut out and repaired.
Cut-out holes have been mended in the roof at the front....can't begin to think why they were there to begin with....perhaps a periscope was fitted?
Maurice has also separated the roof panel to begin repairs to the roof.
See photos numbered 39 to 54 below.
Above--drip strips ready to be fitted to door openings.
Subscribe to:
Posts (Atom)